Comprehensive Guide to Digital Products Maker Settings
The Settings section in the Digital Products Maker extension is your primary control panel. This interface is carefully designed with 4 main tabs that cover everything you need to control the tool.
Here is a detailed breakdown that perfectly matches the extension's interface:
🤖 1. AI & Providers Tab
This tab is the beating heart of the tool, controlling how content is generated:
- System vs. Personal Keys:
- System Keys (Managed): If supported by your plan, you don't need to enter any keys. The platform chooses the best AI models for you.
- Personal Keys: Gives you complete freedom to use your own API keys. You can choose between Free Models or Paid Models for top quality.
- Active Provider: Switch between OpenAI, Gemini, and Anthropic with one click.
- Test Connection: Paste your API key and hit Test to ensure successful connection.
- Pollinations.ai Integration: A magical toggle that lets you generate images for free. Use it as a primary generator or as a Fallback.
⚙️ 2. Generation Tab
Fine-tune the exact parameters that affect the quality and formatting of your products:
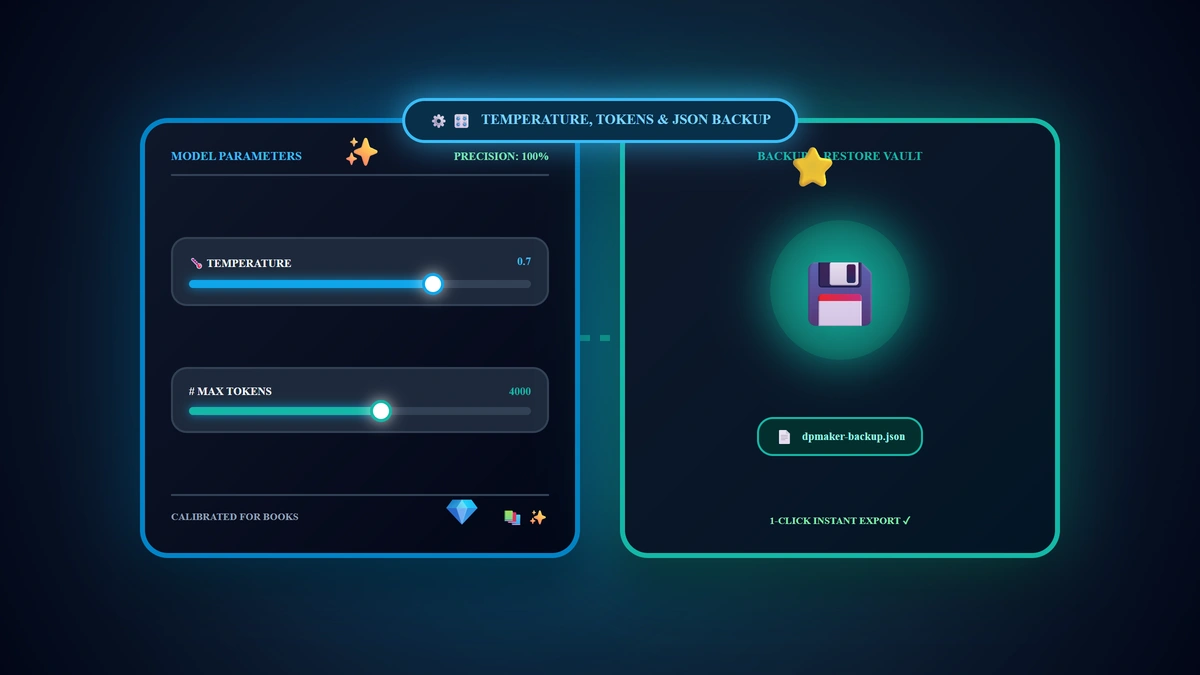
- Temperature: A slider that controls AI "creativity". Lower values yield predictable results; higher values yield creative ones.
- Max Tokens: If your books get cut off before finishing, increase this up to 8000 tokens.
- Default Language: Set the default language for generated product content.
- Manual Image Upload: Enable this if you want to upload your own images instead of using AI.
- Watermark Text: Add your brand name here, and it will be stamped transparently on all generated PDF pages.
💾 3. Data & License Tab
Manage your subscription and save your hard work:
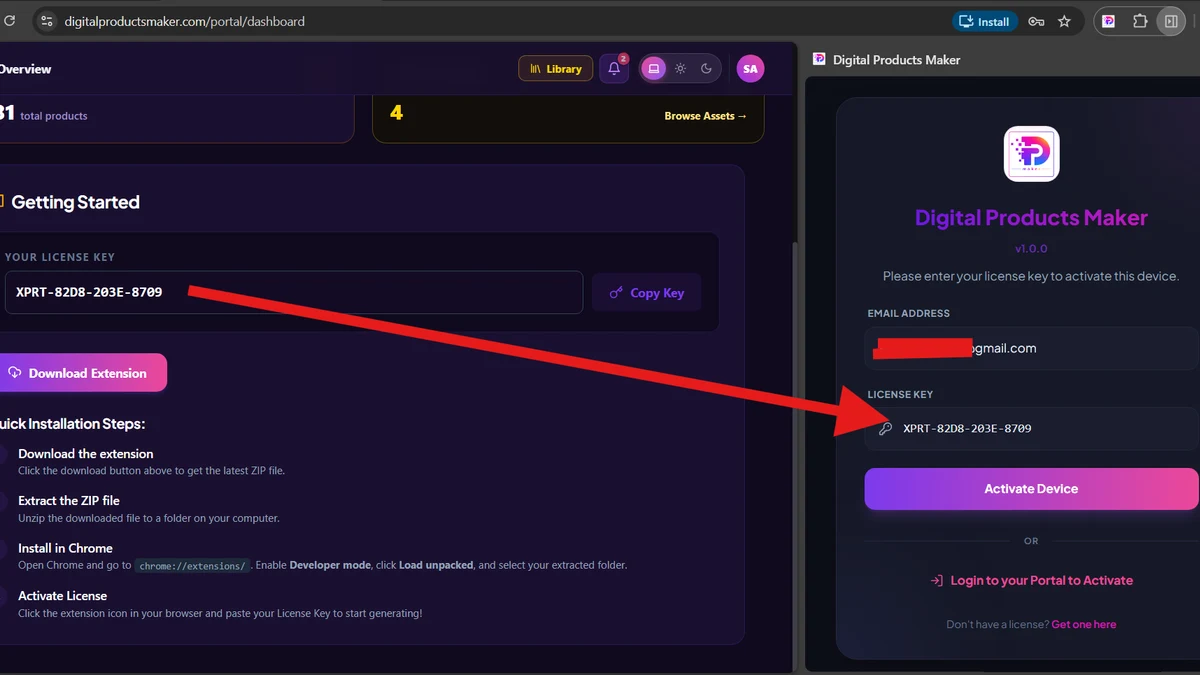
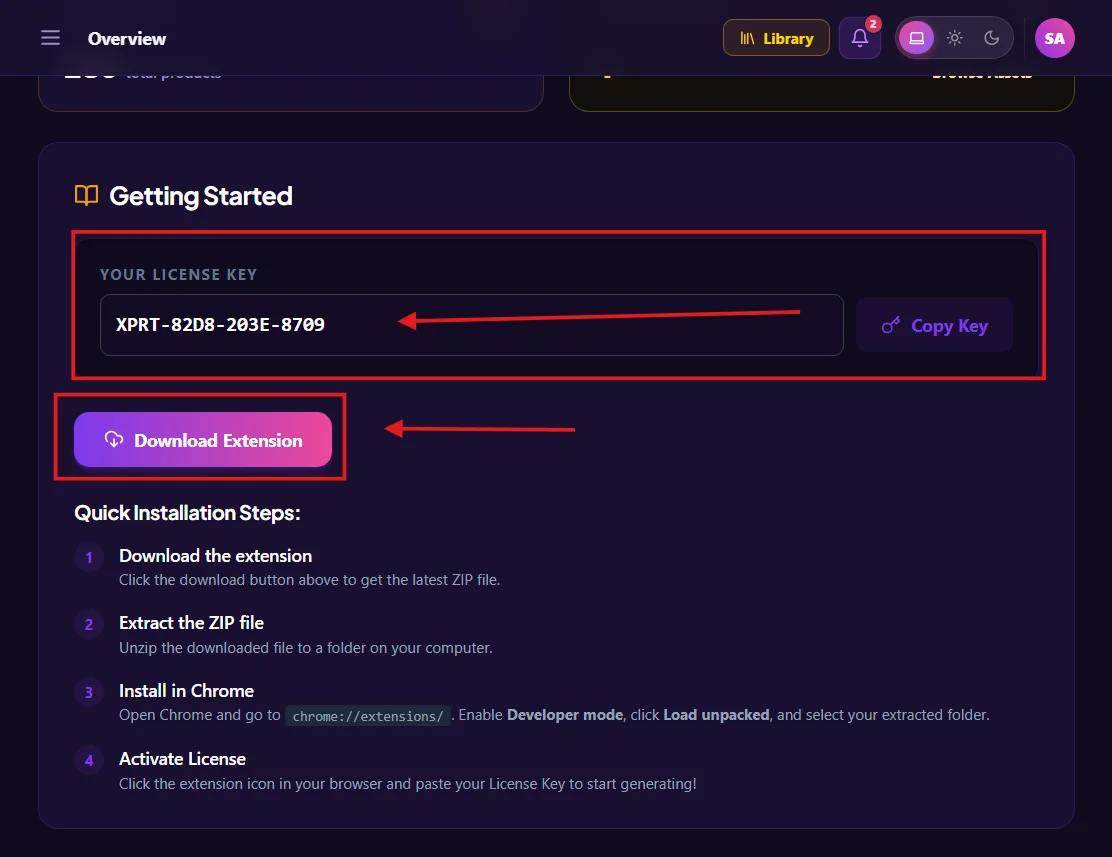
- License Status: Displays your account status. Click Unbind Device to unlink your current machine and move your license elsewhere.
- Backup & Restore:
- Click Export Backup to download all your work, history, and settings into one file.
- Click Import Backup to restore your complete workspace.
🧩 4. Plugins Tab
This section allows you to enable extra features (based on your purchased plan), displaying cards for all available plugins (like the Google Flow Image plugin).
[!TIP] All API keys you enter are stored locally on your device only, ensuring maximum security and privacy for your data.